Building an Open Source Media System
Intro
I don’t like Netflix or other big streaming services engorging themselves on my data. Nor do I use them to begin with. Instead, I consume all video media through playing movie/tv show files in VLC and occasionally youtube.
As such, I realized I could strip out all proprietary software from my media consumption by building my own home media system. If you would like to learn how I did it, keep reading!
The basic idea is: install a media system program on my raspberry pi, then build an android app to control the system via it’s API.
Components
Installing on the PI
Kodi is an open source video playing software, supporting extended functionality through the use of add-ons. As such, it’s the obvious choice for my media system. Kodi is just a program, so it needs an operating system to host it. In theory, I could have installed Kodi on the default OS installed on my Pi: Raspbian. However, this is not advised since the OS would have to work on managing other processes which are not Kodi.
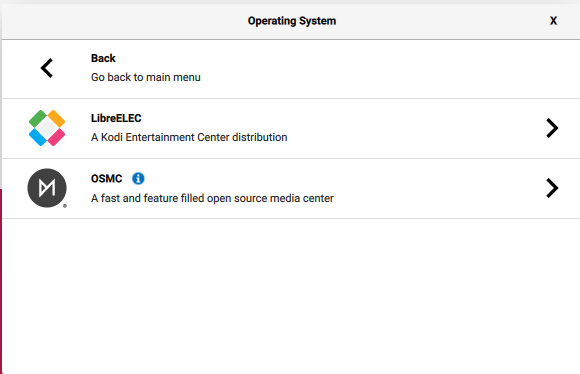
So instead, I chose an OS that is designed to host only KODI. Originally, I had planned to use OSMC, but I also tried LibreELEC OS and liked it’s design, philosophy, and community much more.
Installing the operating system was just as simple as installing any other OS on a Pi. Both operating systems are available on the Raspberry Pi Imager.
Building the App
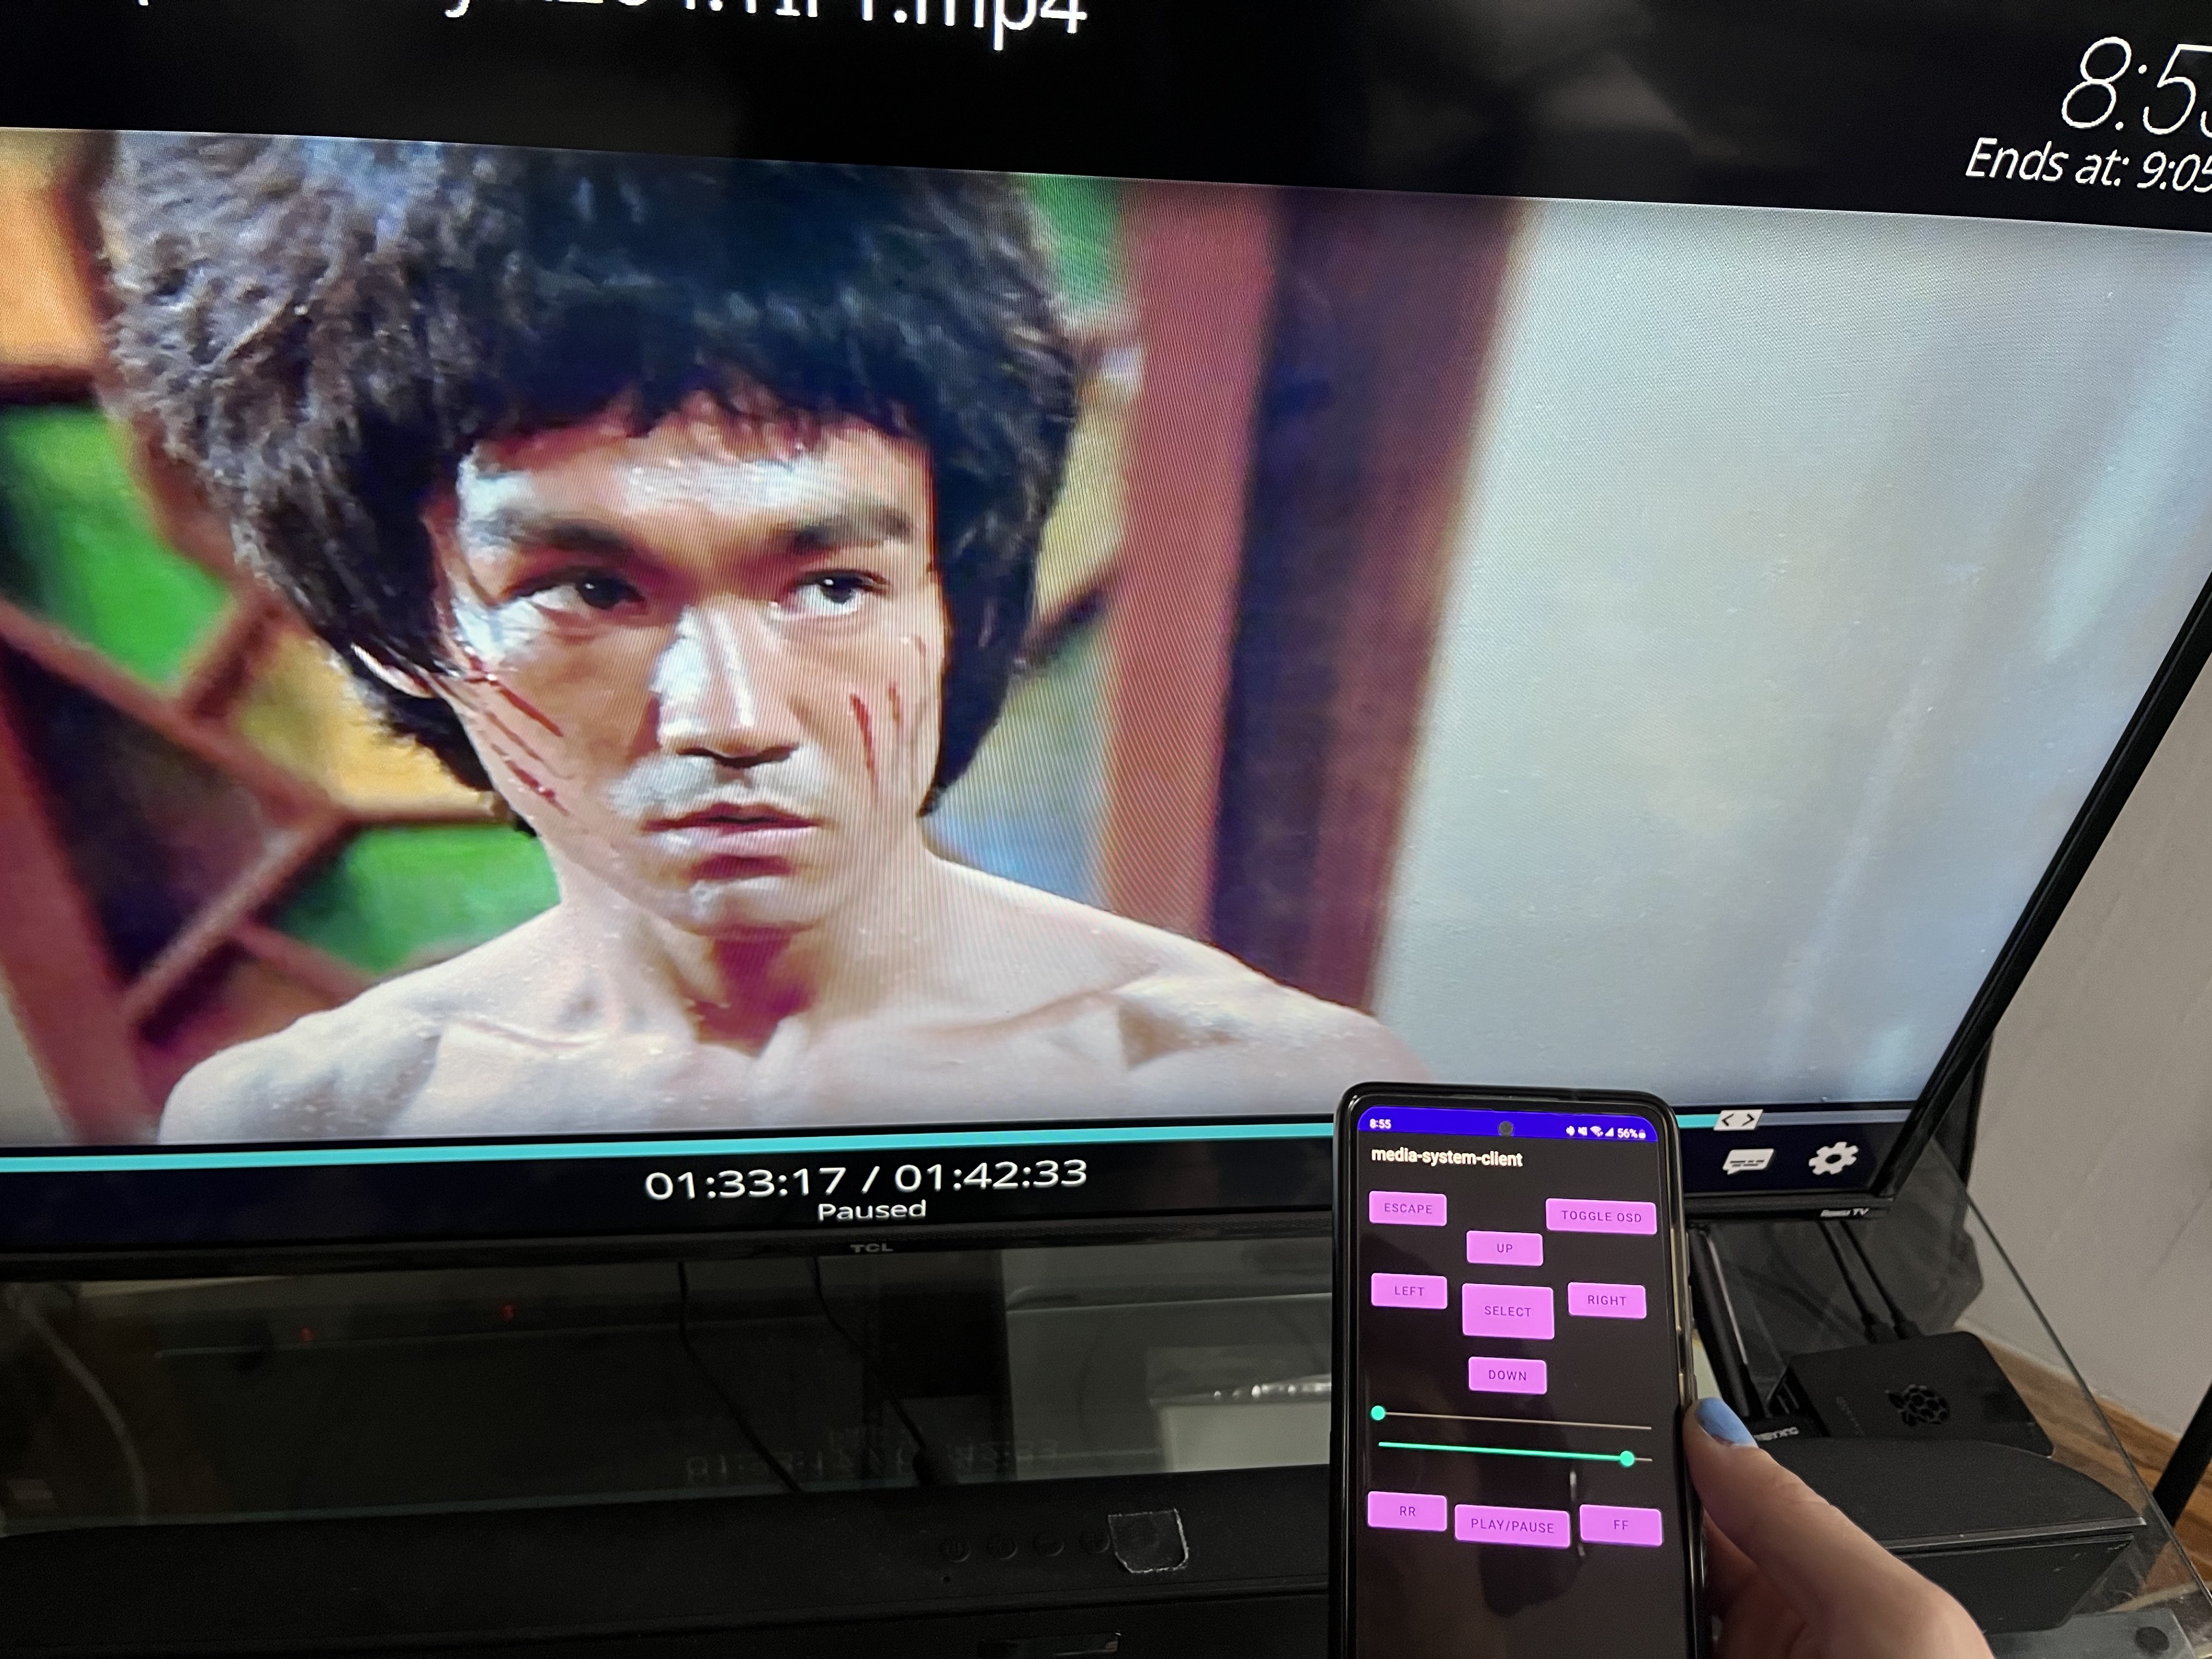
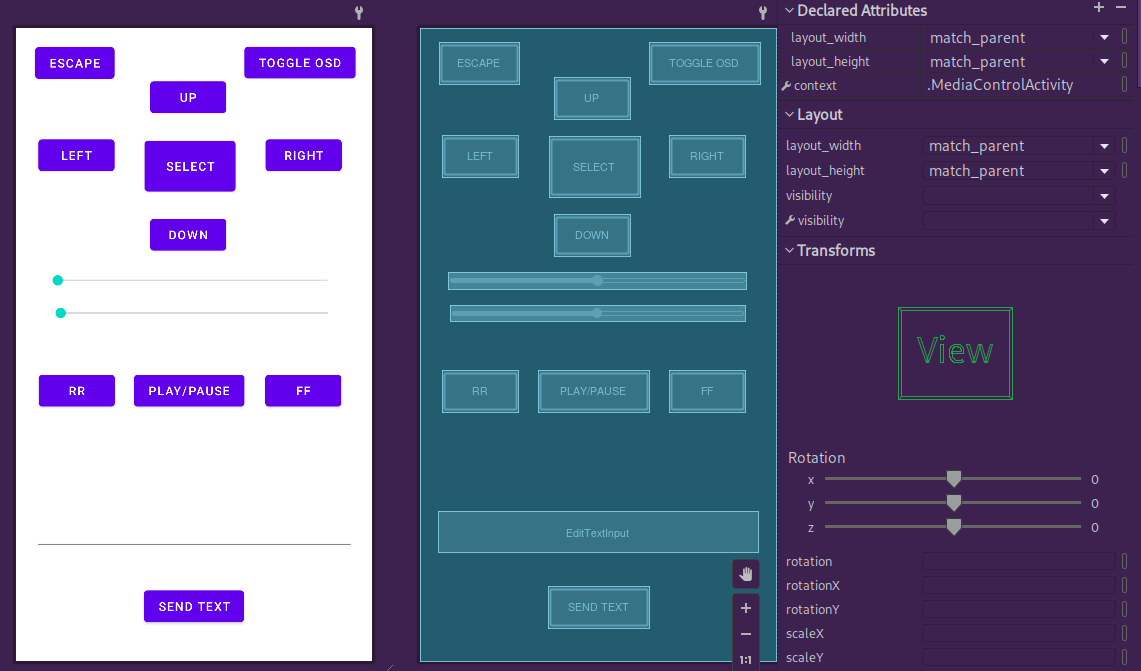
Building the app was the most labor intensive part, but also the most rewarding. I used Android Studio to develop the app, and chose Kotlin as the language. The app didn’t need to be super complex, just a simple UI with buttons and sliders which make POST requests to the KODI JSON-RPC API.
As always, Android Studio makes it a breeze to build, test, and install apps.
Having never worked with Kotlin before, it was definitely an interesting challenge. Since the app is fairly simple, I didn’t have a chance to really get into the nitty-gritty of Kotlin. But I did come away with some thoughts on the language. Perhaps those thoughts will make their way to a future blog post.
You can find the source code for the app here
Static Ip
One flaw in the system’s design was the nature of my Raspberry Pi’s dynamic internal ip. By default, home routers are set to assign ip leases dynamically. This means that: as new devices enter and leave the network (or sometimes reboot) they get assigned a new ip, depending on the next available address.
In order to ensure that the system would keep the same ip, even on multiple restarts, I had to assign it a reserved ip by logging into my router and setting up a reserved ip for the raspberry pi.

Putting it all Together
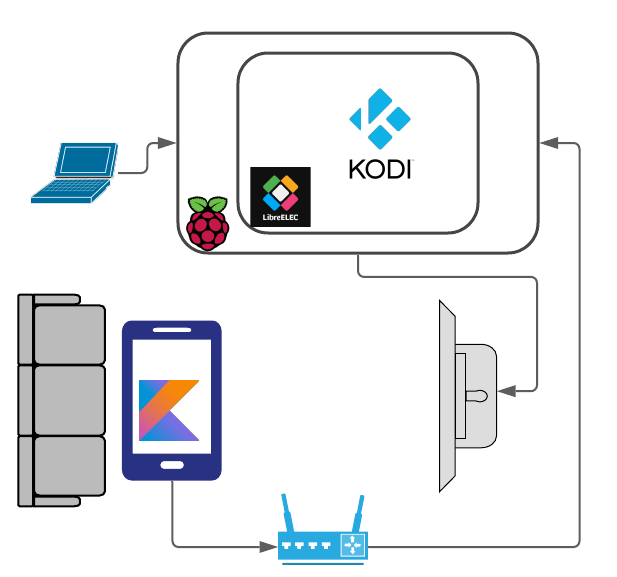
Words are boring, so here’s a diagram laying out the components and how they talk to one another over the network.
Watching a ‘Enter the Dragon’